The Pro Thermostat is a programmable‚ user-friendly device designed to enhance your home’s comfort and energy efficiency. With smart technology‚ it offers precise temperature control and compatibility with various HVAC systems‚ making it a versatile solution for modern households.
1.1 Overview
The Pro Thermostat is a cutting-edge‚ programmable device designed to optimize your home’s heating‚ cooling‚ and ventilation systems. It offers a user-friendly interface with a backlit display‚ making it easy to navigate and adjust settings. Compatible with most HVAC systems‚ this thermostat provides precise temperature control and energy-saving features. Its compact design ensures seamless integration into any home decor. The Pro Thermostat operates on two AA alkaline batteries‚ eliminating the need for a C-wire connection. With features like air filter reminders‚ scheduling options‚ and maintenance alerts‚ it helps maintain system efficiency. The thermostat also supports wireless connectivity‚ enabling remote control through smartphone apps. Its intuitive operation and advanced functionality make it a reliable choice for modern households seeking comfort and energy savings.
1.2 Features
The Pro Thermostat boasts an array of innovative features designed to enhance comfort and efficiency. It includes programmable scheduling‚ allowing users to set custom temperature profiles for different times of the day. The thermostat offers three primary modes: Heat‚ Cool‚ and Off‚ ensuring precise control over your home’s climate. Additionally‚ it features an air filter change reminder‚ promoting system maintenance and improved air quality. The device supports wireless connectivity via Wi-Fi‚ enabling users to adjust settings remotely through a dedicated app. With its energy-saving capabilities and compatibility with various HVAC systems‚ the Pro Thermostat is a versatile solution for modern households. Its battery-powered operation eliminates the need for a C-wire‚ simplifying installation.

Installation
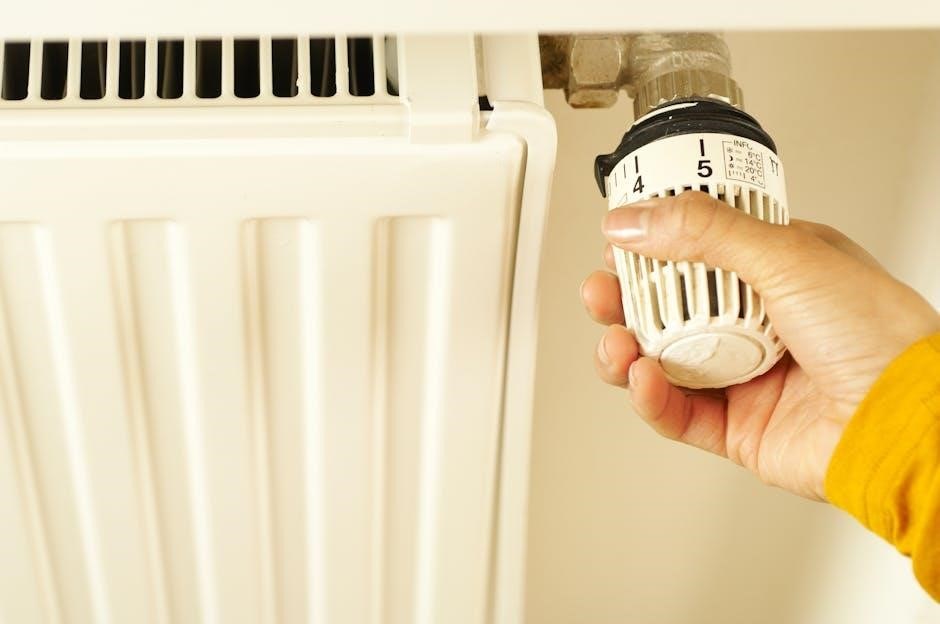
Installation should be performed by a professional to ensure proper setup and safety. Choose a location representative of the building’s temperature for accurate readings and easy access.
2.1 Preparing for Installation
Before installing the Pro Thermostat‚ ensure the location is accessible and representative of the building’s temperature. Turn off the HVAC system and verify compatibility with your system requirements. Gather necessary tools and refer to the user manual for specific instructions. Check for any existing wiring and ensure it matches the thermostat’s compatibility. Remove the old thermostat carefully to avoid damaging wires. Take note of the wiring configuration to ensure a smooth transition to the new device. Finally‚ consult professional help if you’re unsure about any step to guarantee a safe and proper installation.
2.2 Wiring and Mounting
Ensure the HVAC system is turned off before starting the wiring process. Carefully remove the old thermostat and take note of the existing wiring configuration. Compare it with the Pro Thermostat’s wiring diagram in the user manual to ensure compatibility. If your system uses a C wire‚ connect it to the corresponding terminal on the Pro Thermostat. Gently insert the wires into their designated terminals‚ securing them firmly. Mount the thermostat on a level surface‚ ensuring it is representative of the room’s temperature. Use the provided screws or adhesive strip to secure it. Avoid mounting near drafty areas or direct sunlight. Once wired and mounted‚ double-check all connections before restoring power to the system. If unsure‚ consult a professional for assistance.

Operation
The Pro Thermostat operates by adjusting your HVAC system to maintain a set temperature. Use the intuitive interface to control modes‚ adjust settings‚ and monitor energy usage efficiently.
3.1 Basic Operation
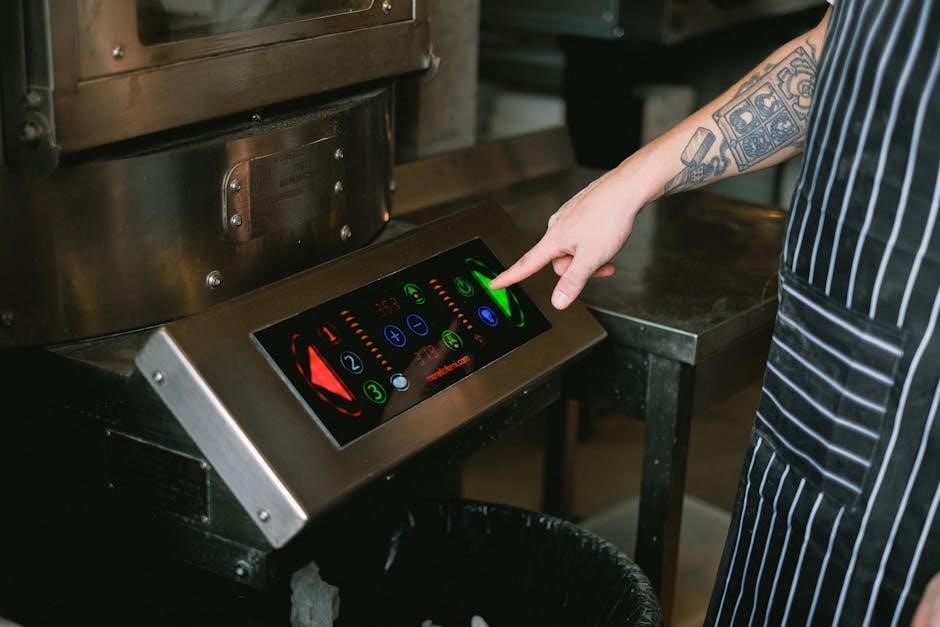
Power on the Pro Thermostat and ensure it is properly connected to your HVAC system. Use the touchscreen or buttons to set your desired temperature. The display will show the current room temperature and your setpoint. Press the “Up” or “Down” buttons to adjust the temperature. Select the desired mode (Heat‚ Cool‚ or Off) using the mode button. The thermostat will automatically activate your HVAC system to reach the set temperature. The screen will remain lit for a few seconds after adjustments. For battery-powered models‚ replace batteries when the low-battery indicator appears. Refer to the user manual for detailed instructions on basic functionality and energy-saving features.
3.2 Heat‚ Cool‚ and Off Modes
The Pro Thermostat offers three primary operating modes: Heat‚ Cool‚ and Off. In Heat mode‚ the thermostat activates your heating system to maintain the set temperature. Cool mode engages the cooling system to lower the temperature. Off mode deactivates both heating and cooling‚ though the fan may continue to run if enabled. Use the mode button to cycle through these options. The display will show the active mode‚ ensuring easy identification. For energy efficiency‚ consider using the programmable scheduling feature to automate mode changes based on your daily routine. Always refer to the user manual for specific instructions on mode selection and customization to optimize your HVAC system’s performance and energy savings.

Programming
Programming allows you to set custom temperature schedules‚ optimizing comfort and energy savings. Easily automate HVAC operations with user-friendly controls and compatibility with various systems.
4.1 Scheduling
Scheduling on the Pro Thermostat enables users to create customized temperature settings for different times of the day and week. By setting a weekly schedule‚ you can optimize energy usage and maintain comfort. The thermostat allows you to program specific temperatures for wake‚ sleep‚ and away periods‚ ensuring efficient HVAC operation. With an intuitive interface‚ you can easily adjust the schedule to fit your lifestyle. Additionally‚ the thermostat supports multiple programming options‚ including daily and weekend settings‚ providing flexibility for varying routines. This feature helps reduce energy consumption by automatically adjusting temperatures when you’re not home or when you’re sleeping.

Maintenance
Regular maintenance ensures optimal performance. Replace batteries with high-quality alkaline ones and check the air filter regularly for cleanliness or replacement. Ensure the screen light functions properly for accurate temperature control.
5.1 Replacing Batteries
To replace the batteries‚ open the easy-access battery door located at the bottom of the thermostat. Use two high-quality AA alkaline batteries for optimal performance. Ensure the batteries are inserted correctly‚ following the polarity indicators. Replace them annually or when the low-battery indicator appears on the screen. Proper battery replacement ensures continuous operation and maintains your programmed settings. Always use alkaline batteries to avoid performance issues. After replacing‚ close the door securely. If powered by a C wire‚ the screen stays lit for 45 seconds after changes. This simple process keeps your thermostat functioning efficiently.
5.2 Air Filter Maintenance
Regular air filter maintenance is essential for optimal HVAC system performance. The Pro Thermostat features a built-in air filter change reminder to ensure you never forget. When the reminder appears‚ turn off your HVAC system before replacing or cleaning the filter. Open the air handler or furnace‚ locate the filter‚ and remove it. Replace it with a new one of the same size and type‚ or clean it if reusable. After installing the new filter‚ reset the reminder on your thermostat. This helps maintain indoor air quality‚ improves system efficiency‚ and prevents potential damage to your HVAC equipment. Always use high-quality filters to ensure the best performance.

Troubleshooting
The Pro Thermostat may experience issues like blank screens or incorrect temperatures. Check power supply‚ ensure proper wiring‚ and restart the system to resolve common problems.
6.1 Common Issues
Common issues with the Pro Thermostat include a blank or unresponsive screen‚ incorrect temperature readings‚ and system not turning on. These are often due to low battery levels‚ loose wiring connections‚ or incorrect system setup. Ensure batteries are fresh and properly installed. Check wiring for any damage or loose connections. If the screen remains blank‚ try restarting the thermostat. For temperature inaccuracies‚ verify that the thermostat is located in an area representative of the room’s average temperature and adjust the calibration settings if necessary. Refer to the user manual for detailed troubleshooting steps or contact customer support for further assistance.
Technical Specifications
The Pro Thermostat is compatible with most HVAC systems‚ featuring a high-resolution touchscreen display‚ Wi-Fi connectivity for remote control‚ and a rechargeable battery with up to 5-year life.
7.1 Compatibility and System Requirements
The Pro Thermostat is designed to work seamlessly with various HVAC systems‚ including forced air‚ heat pumps‚ and radiant floor systems. It is compatible with both 24V and 120V systems‚ ensuring versatility for different home setups. The thermostat supports multiple stages of heating and cooling‚ up to four stages for heating and two for cooling‚ making it suitable for advanced HVAC configurations. Additionally‚ it requires a C-wire for power‚ though some models can function without it using optional adapters. The Pro Thermostat is also ZigBee and Wi-Fi enabled‚ allowing integration with smart home systems and remote control through its dedicated app.

Warranty
The Pro Thermostat is backed by a 5-year limited warranty‚ covering manufacturing defects and ensuring reliable performance for your heating and cooling needs.
8.1 Warranty Information
The Pro Thermostat is covered by a 5-year limited warranty‚ ensuring protection against manufacturing defects. This warranty applies to the original purchaser and covers repairs or replacements for faulty components. Proper installation and usage are required to maintain warranty validity. Damage caused by improper installation‚ misuse‚ or external factors is not covered. For warranty claims‚ contact customer support with proof of purchase and a detailed description of the issue. The warranty period begins from the date of purchase and is non-transferable. This coverage underscores the product’s reliability and commitment to customer satisfaction‚ providing peace of mind for users.